Showing posts with label kids. Show all posts

Wednesday, October 23, 2013

Grilled Cheese Pull-Aparts


I consider myself to be a pretty decent cook. I'm certainly no gourmet chef, but I do know my way around the kitchen. I also make mistakes. A lot of mistakes. (Thankfully, I have a husband who will eat anything!) My mistakes make me a better cook. It forces me to improvise, and then I know not to make the same mistake next time.

One weekend, when James and his dad were working our window frames (that's a post for another day), I decided to try something new for lunch. Here's the first lesson that I learned: Don't make something new when you have company. You will screw it up, and then you will look like a bad cook. I mean, yeah, I make mistakes. But I don't want people to know that I make mistakes! ;) Anyhoo, I made these grilled cheese pull-aparts that have been floating around on Pinterest. They're pretty decent! Everyone seemed to like them. But I definitely took the long way around on this quick, easy recipe, because guess what? I screwed it up. But I improvised.

It goes a little something like this...

I used:
  • block of cheese
  • tube of refrigerated biscuit dough (I used Grands Flakey Layers)
  • 2 tablespoons of butter
First, I cut up a block of cheese into little cubes. You could probably use shredded cheese, but I didn't. No particular reason, I just didn't. And you can use whatever kind of cheese you like. I made two different types: One with Colby and one with American. Next time I'll just use Colby, because the American didn't melt as well as I'd hoped (lesson #2), but the Colby worked perfectly. The recipe that I used for inspiration (linked above) called for Velveeta. I generally don't like to use Velveeta, so I don't when there are perfectly good, and just as easy, alternatives.


Then I flattened the each individual hunk of biscuit dough and piled some cheese cubes on top. I have no measurements for this. I like cheese, so I used a lot.


Then I stretched the dough around the cheese and pinched it shut at the top.


So far, so good...

The Pinterest recipe called for 1/2 cup of butter. That's an entire stick, and entirely too much butter (yes, there is such a thing as too much butter, contrary to what Paula Deen might think). So I cut it down to 2 tablespoons. Really, you just need it to coat the bottom of your 9-inch round cake pan, so there is no need to use a whole stick. Anyway, melt it and swish it around until it covers the bottom of the pan.


Then I put the biscuits in the pan, seam side down.


Then I popped it in the oven according to the directions on the package of biscuit dough, which was 350 degrees for 14-17 minutes. I started with 14 minutes. When I took them out they looked delicious! Nice golden brown, just like they were supposed to look!
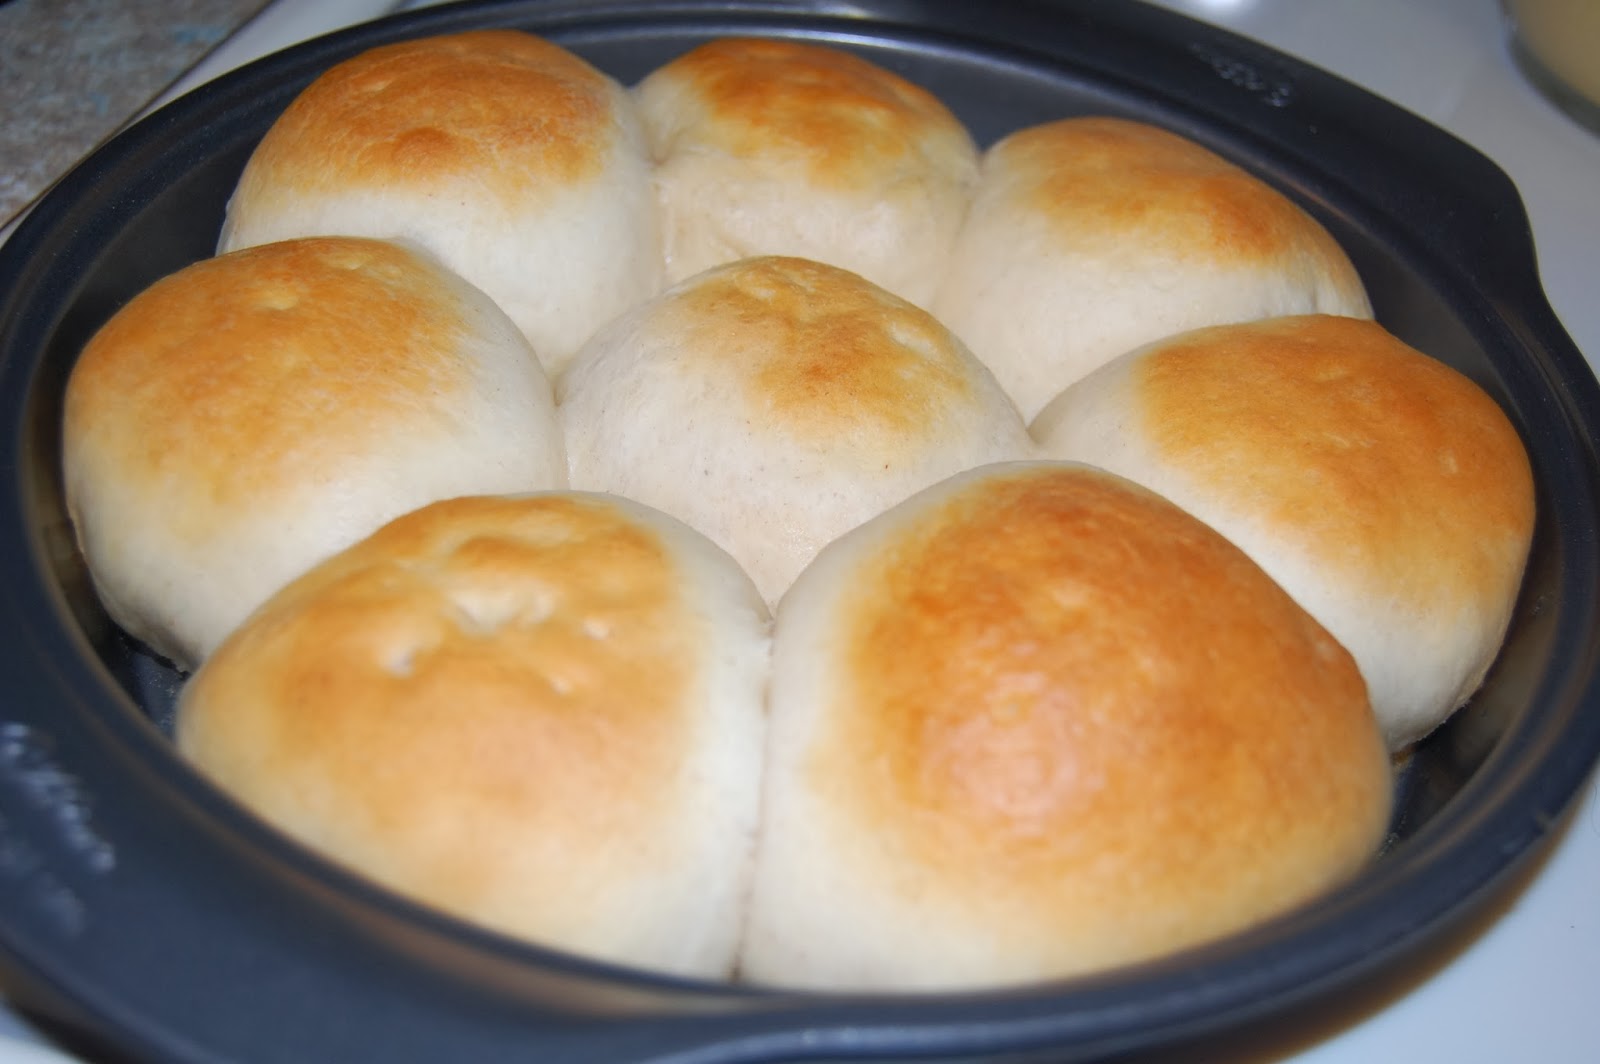

So far, so... not good.

I took one out to put on a plate, and they were doughy in the places where the biscuits were touching each other (lesson #3). Not just a little doughy, but full-on stringy, sticky doughy. Crap.

So I took them out of the pan one by one, and placed them on a cookie sheet with lots of room in between each biscuit. Then I put it back in the oven for another 5 minutes, and crossed my fingers that the tops and bottoms wouldn't burn while the rest of the dough cooked through.


It worked! They turned out great! But for the love of Pete, don't use a 9 inch round cake pan. Save yourself the trouble and just use a cookie sheet from the get-go.

I made some nice hot tomato soup to go with it. It was the perfect lunch for a rainy fall day!


Sunday, July 28, 2013

Storage for Kids' School Projects

Well, It's almost that time. School time, that is. This summer has flown by, and now we find ourselves starting to think about things like school supplies and morning routines. This is actually the first year that I've had to join in the school supply madness, as Isaac is starting preschool at St. Michael's this fall, and I'm happy to report that our back-to-school shopping is DONE!

So I started thinking about what I'm going to do with all the cute little paintings and drawings and other school projects that the kids are going to start coming home with, as well as report cards and certificates and stuff, and decided that I needed some kind of storage solution to keep it all organized. I already have some little projects that have come home from daycare over the past few years, and they are anything but organized. I found this idea on Pinterest and decided to do something similar.

So here is what I spent my morning doing (all before 9:00 AM, go me!).

 
The kiddos saw me taking pictures and wanted to get in on the action. They're so darn cute, I just couldn't deny them. (And Alex is debuting his new haircut in this picture.)

 
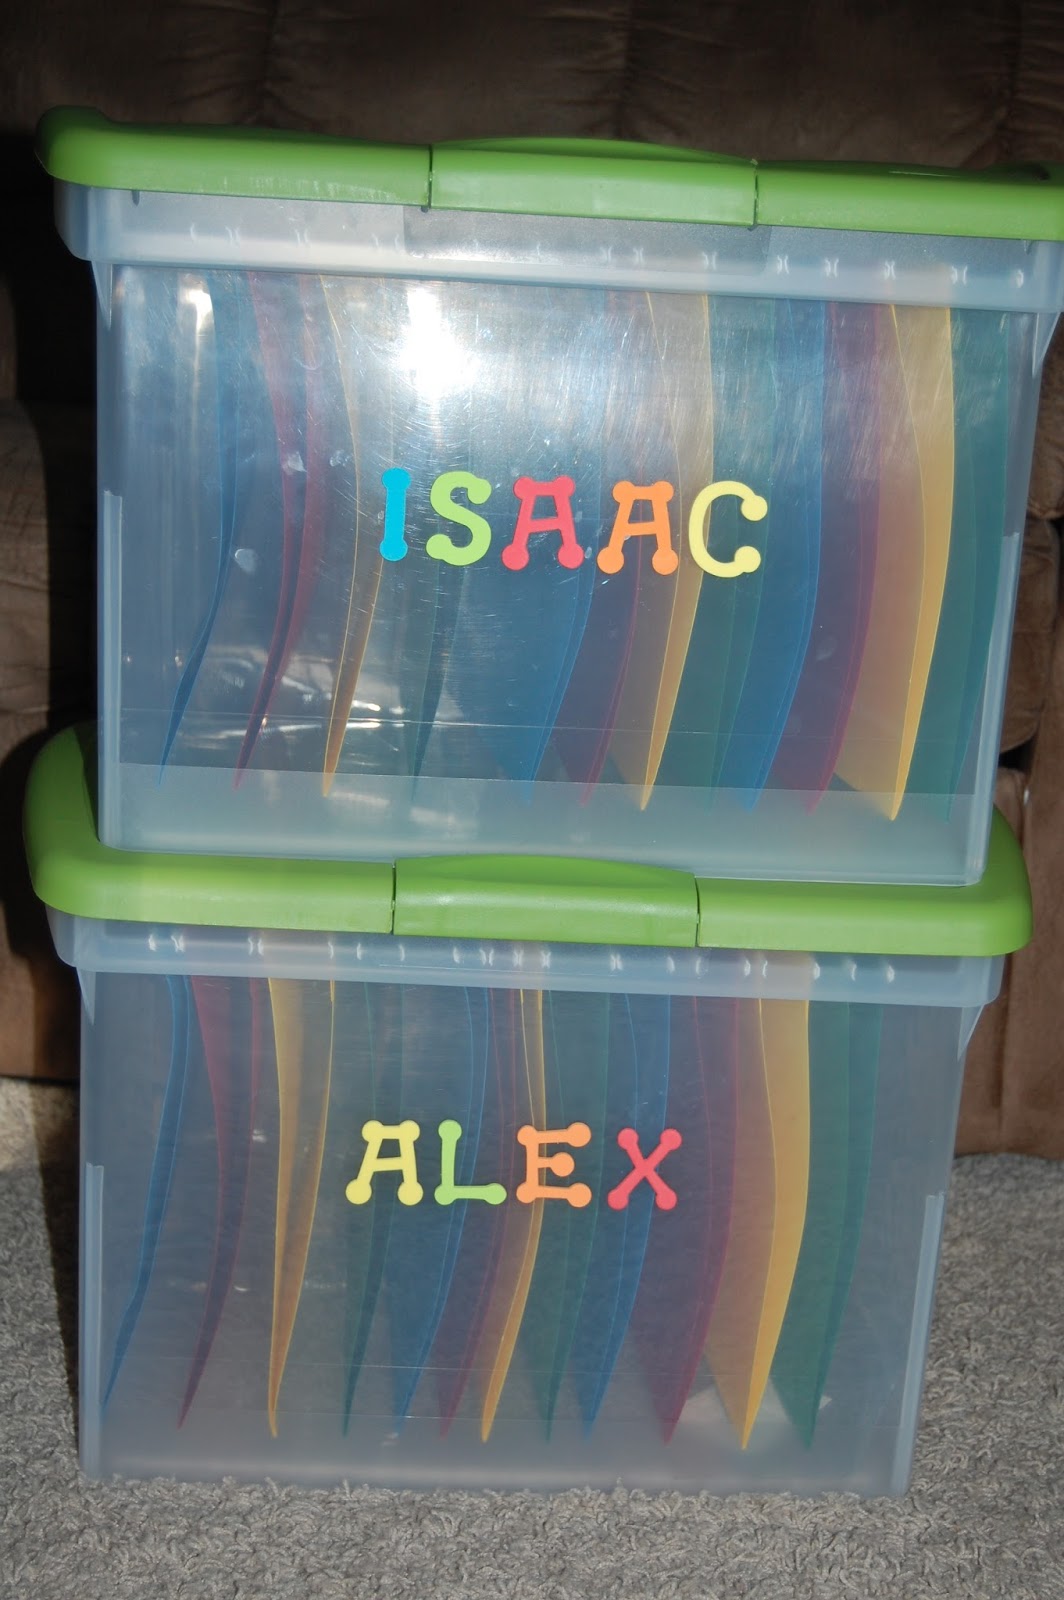
I got the file storage cases at Target, and the hanging files and sticky foam letters at Walmart. This is not a terribly expensive project. I got everything I needed for this project for about $20.
 
Here's what the inside looks like:


I chose to use only one file for 0-3 years old because I don't have a whole lot of stuff to put in there for those ages. After that, I did one tab for every grade, preschool to 8th grade. I also put grades 9-12 in one tab titled "High School". I did this because it worked with the amount of file folders I had, and I'm not sure that parents save a lot of high school stuff anyway. But the beautiful thing is that I can always change it later.
 
And the thing that inspired me to start this project was Isaac's very first birthday interview! It's so cute, I had to share. I can't remember how I found it, but of course, I pinned it (link). I went to Office Max and had it laminated. I plan to do this interview for each of my kiddos every year on their birthday. (I took two pictures so I could zoom in more to make it easier to read.) My favorites are #9 and #20, lol!