 | |
| Before |
Here's what you need:
- Screwdriver
- Sandpaper
- Paint and painting supplies
- Adhesion primer

Step 2: Take the doors/drawers outside and sand the crap out of them. Well, actually, you just need to do a light sanding so the primer will stick better. Then go back inside and lightly sand the surface of the cabinet frame.

Step 3: Brush everything off with a stiff brush or a broom. I would like to take this opportunity to show off my adorable little walrus hand broom, because that's what I used to brush the sawdust off. Isn't it cute! The snout comes off, that's the brush part, and the head is the dust pan. I love it.

Step 4: Prime it. You want to get some adhesion primer. It's made to be used on smooth surfaces and it sticks really well. It's pretty thick, but works like a charm. I got mine at Lowe's. Most likely, you'll only need one coat of this. That's all I did. It doesn't have to look even, you're just using it as a base for your paint, something for it to stick to.
Step 5: Paint it. You want a high gloss paint for this. I used Sherwin Williams All Surface Enamel in a high gloss finish. The color is Black Bean. Two coats did the trick for me, and it's a super dark color being painted on white primer, so I can't imagine that you would need to do more than two coats.

Step 7: Install the hardware before you put the doors back on.


Step 8: Hang those doors back on! Then you're done!
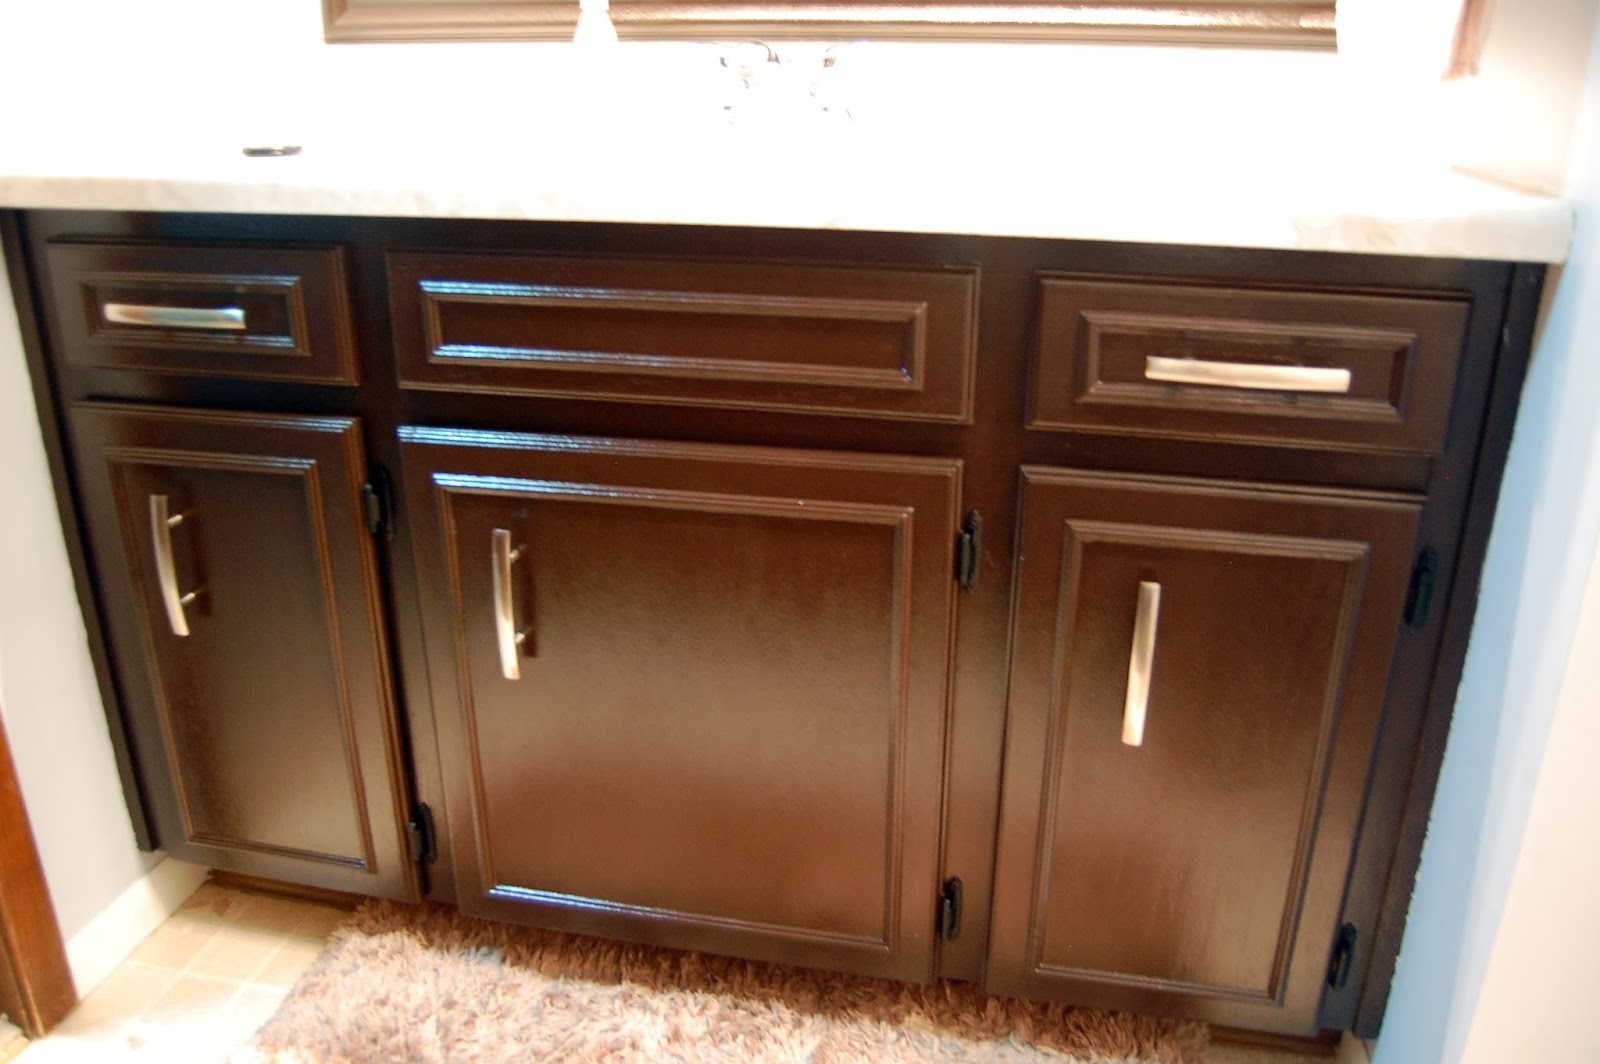
We have no natural night in our bathroom, so I had a hard time getting a picture that showed the true color. This is pretty close, but it doesn't look quite as shiny in real life. I am so happy with the results! And it was a lot easier than I thought it would be.


No comments:
Post a Comment